Training Modules
for the Xposure™ MLS® Platform
Use the menu in the top bar to jump to specific tutorials
The training provided through these tutorials is general in nature, the specific rules and regulations within your Board will still apply
PLEASE NOTE: If Xposure™ is not the primary MLS® System in your Board area, Autoload cannot be used to load or maintain your listings.

1-Account
MODULE 1 - Video is 1.37 minutes in length
Setting up your account profile is an important first step in using the Xposure™ MLS®. Your profile will be seen by your colleagues, and the viewing public, through the MLS®, PCS™, and Public Side Platforms. Watch the video below to follow the step by step process.
Tips to Succeed
1. Ensure that your PCS™ is enabled for the system to generate leads for you whenever your audience lands on your page. And when you receive an email that a new client has signed up to your PCS™ account, be sure that you click 'Activate Client' within that email. 2. Adding a video biography builds trust in a potential client, as they can hear your voice and get a sense of your body language. Make the video about you, and who you are, and not necessarily about your business. 3. Keep the textual Biography brief and to the point. This is also a great place to add your testimonials.
2-Dashboard
MODULE 2 - Customize your Dashboard in 24 seconds
• Learn how to add and remove widgets • Learn how to reorder the widgets
3-My Listings
MODULE 3A - Video is 5.17 minutes in length
MLS® Autoload is a complete system for uploading and maintaining your listings. In the following video you will learn how to upload a listing to the MLS®, as well as how to assign the listing to your photographer, enabling them to directly upload your media.
Using Autoload will give you the ability to add additional media and content to your listing website. This media can then be shared with all your fellow Agents, as Xposure™ has a reciprocity of media component built within.

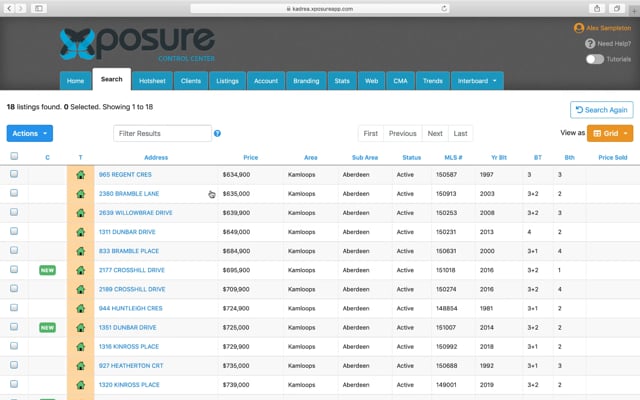
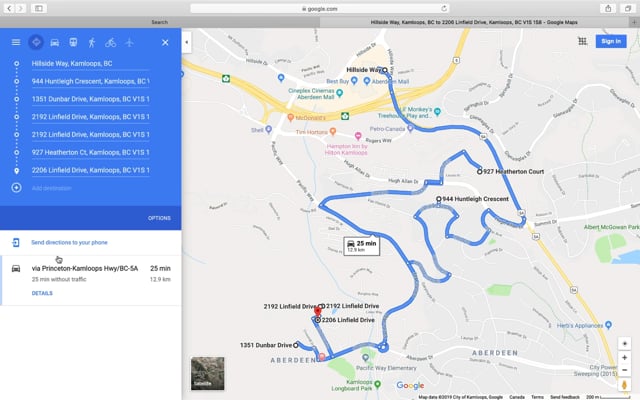
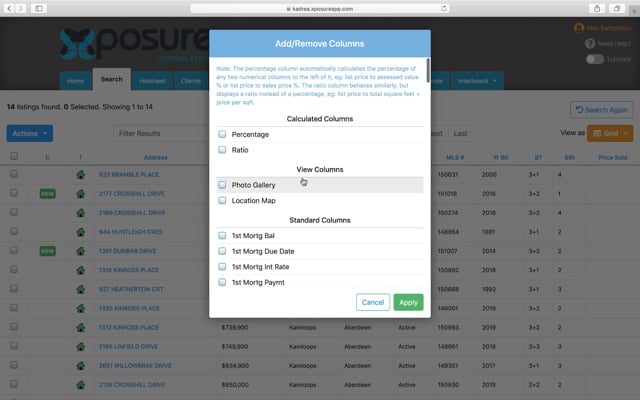
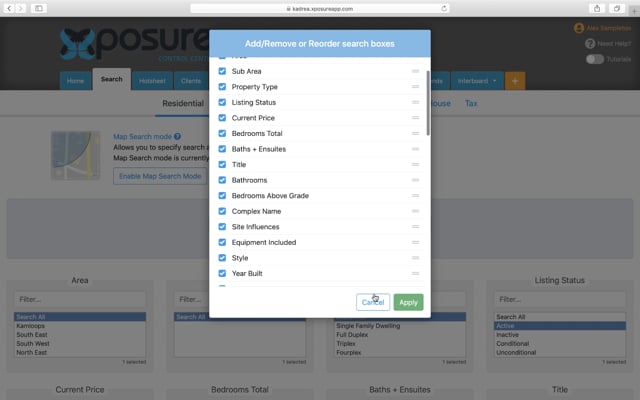
4-Search

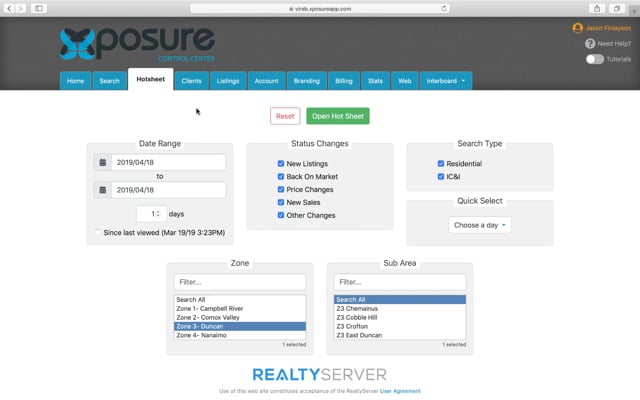
5-Hotsheet
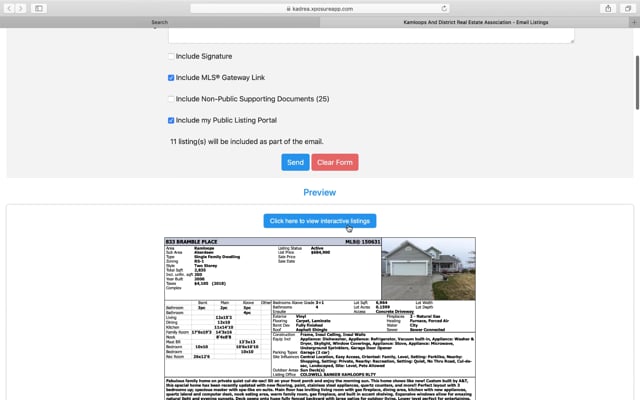
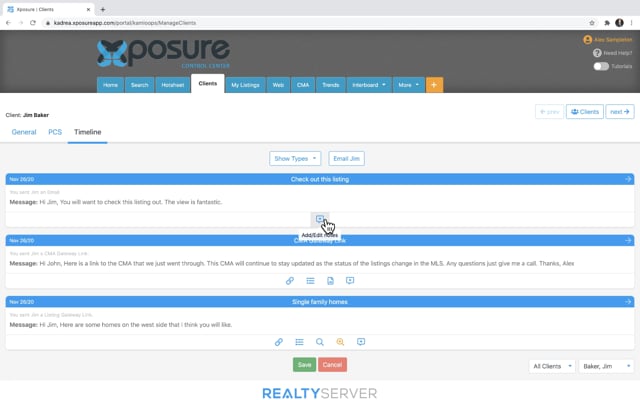
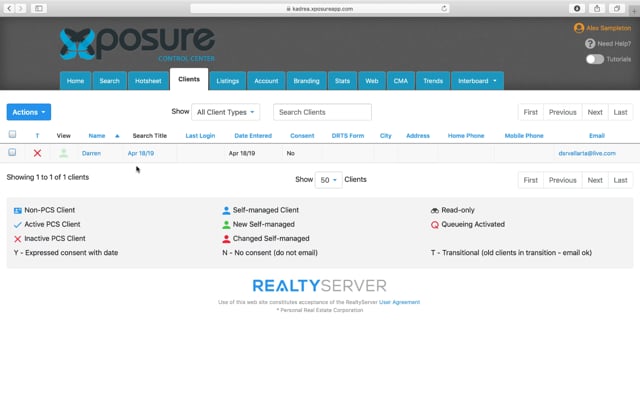
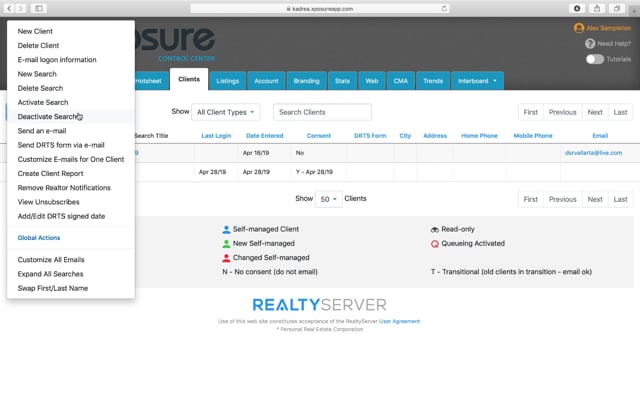
6-Clients

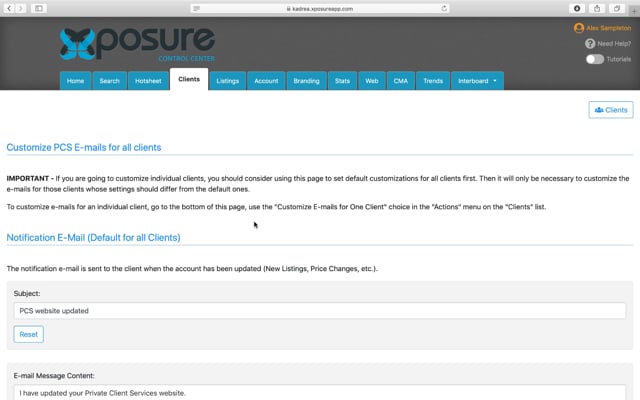
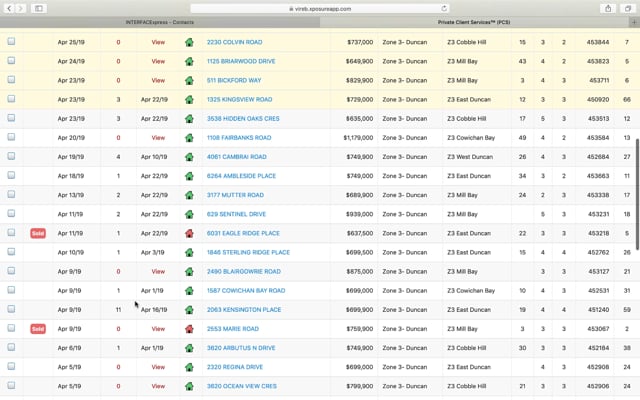
Private Client Services™ (PCS) allows Agents to quickly and easily create private websites for clients, containing listings based on customized individualized searches.
Once PCS™ is set up, the client is automatically notified that new or changed listings are available and a link to their private website is provided by email. When the client has accessed the site and reviewed the listings, an automatic notification will be sent as any new listings are added or changes are made to the system. No additional notifications will be sent until the client has viewed the website.
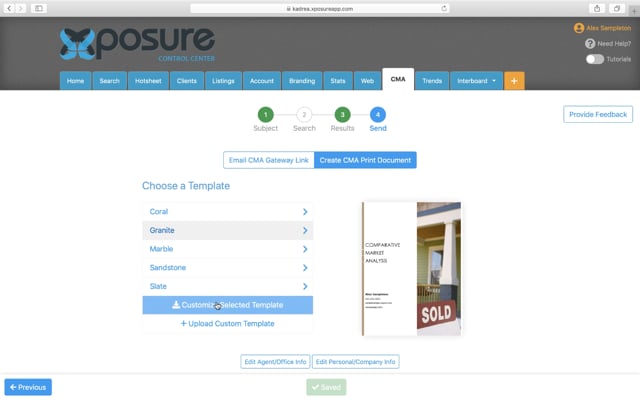
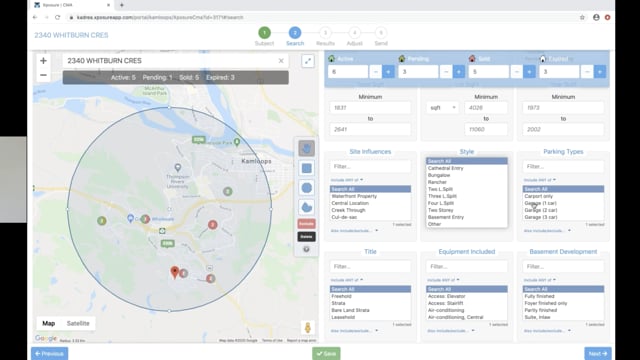
7-CMA
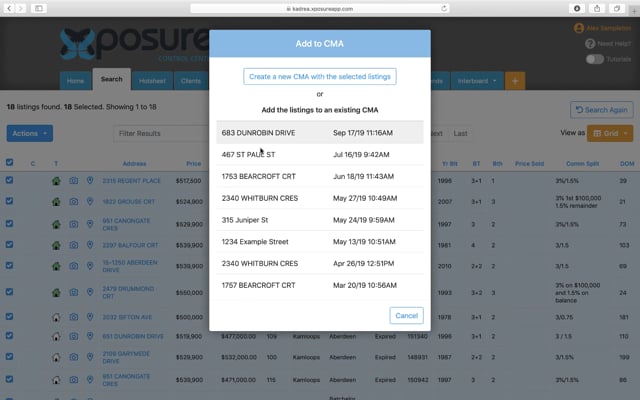
Tips to Succeed
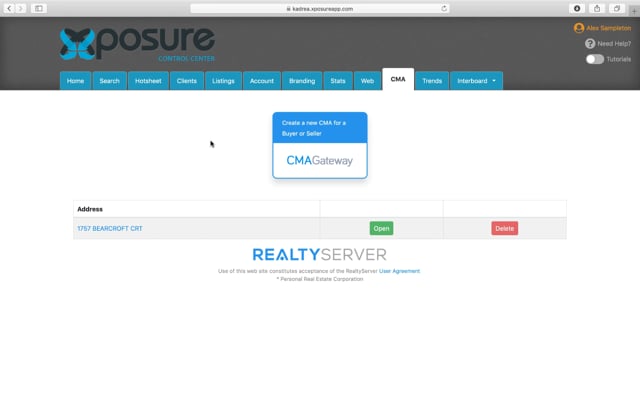
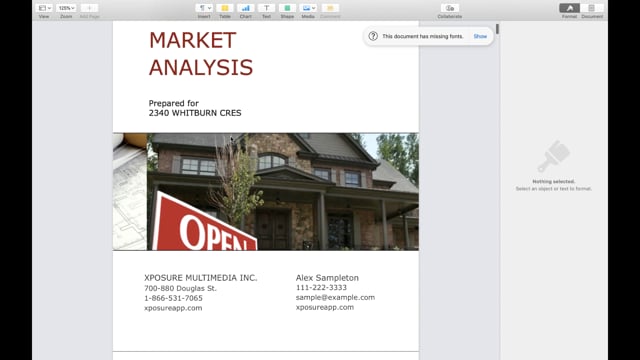
1. Use the CMA tool to also help Buyers feel confident that their offer price is accurate. A Buyers CMA can be built in seconds and provides a wealth of information. 2. Remember that the interactive CMA Gateway is live and will reflect all MLS® changes to the featured listings. The printed copy will, of course, show the listings with the original price and listing status as it's a static copy.
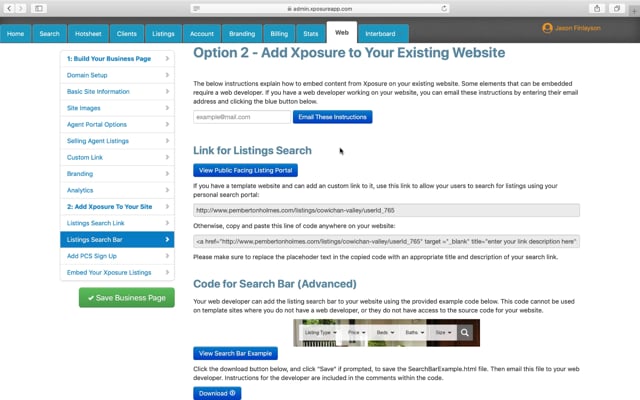
8-Web Tools
MODULE 8A - Video is 5.18 minutes in length
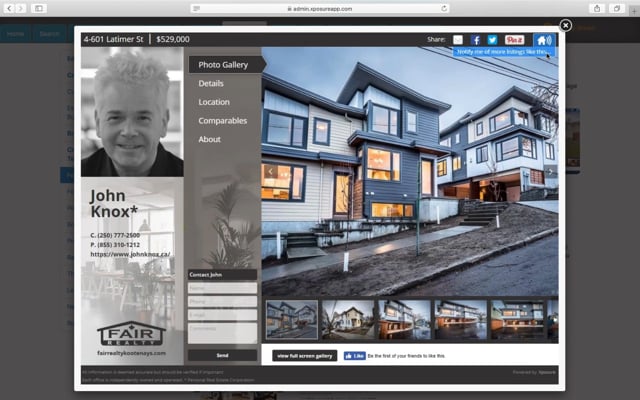
The Xposure™ MLS® Platform provides each Agent with a free website called the Xposure™ Business Page. Learn how to build your own website in just a few minutes by following the video below.
9-Mobile App
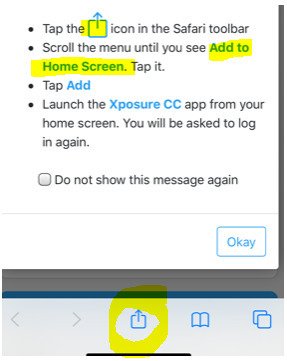
iPhone Installation Instructions:
1. Log into the Xposure™ Control Center on your iOS device.
2. Tap the share icon in mobile safari (the square with an arrow coming out the top)
3. Scroll the share dialog until you see "Add to Home Screen". Tap it.
4. Tap "Add"
5. Launch "Xposure™ CC" from your home screen and log in again.
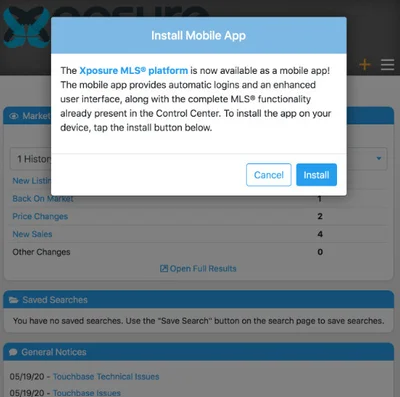
Android installation instructions:
1. Log into the Xposure™ Control Center on your Android device 2. Use the Control Centre until you get a prompt to install the app (navigate to any tabs, such as "Home", or "Search") 3. Click "Install" when prompted. Then Click "Add" when promoted again. 4. Launch "Xposure™ CC" from your home screen and log in again
10-Branding
MODULE 10A
Video is 2.02 minutes in length
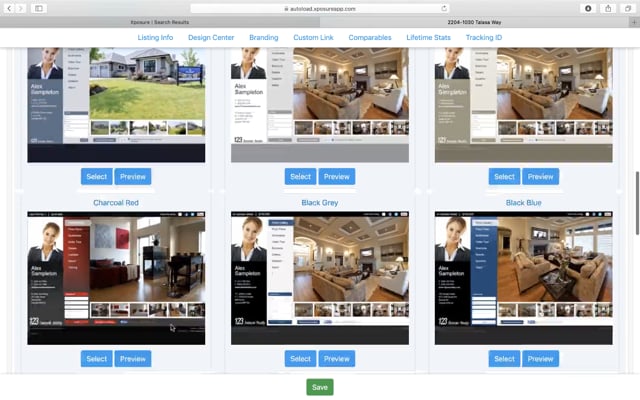
Within Xposure™, you have control over the appearance of various elements of the system.
In this video you will learn how to have your listing template and your Business Page designed to look like your brand.
MODULE 10B
Video is 55 seconds in length
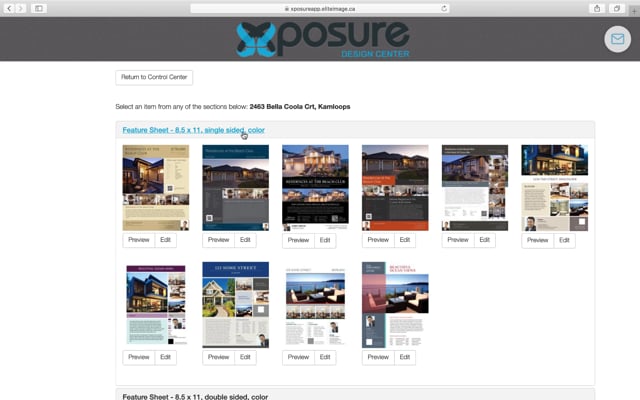
Here you will learn how to have custom print materials added to the Xposure™ Design Center.
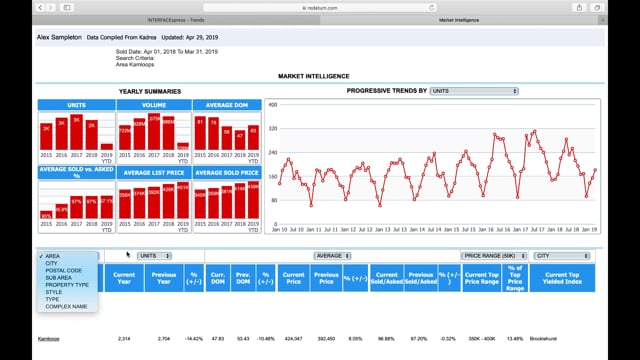
11-Trends
12-Brokerage Tools
MODULE 12A - Brokerages are provided with a listing portal which can be integrated into the corporate website. All non-brokerage reciprocity listings feature a Realtor® On Duty. View the video below to see how the portal works and how your company can benefit from the additional features. Please note that a monthly fee will be charged for the Brokerage listing portal.
Xposure™ can be company branded for all of your Agents, from listing templates to CMA templates. To learn more about how Xposure™ can work within a brokerage click here. To sign your Brokerage up for these tools, click here, scroll to the bottom of the page, and follow the instructions. The video will walk through some of the custom branding features, how to set up the Agent on Duty calendar, and how to use the stats platform.
13-Photographers
To sign up to become an approved Photographer in the Xposure™ Platform, please go to admin.xposureapp.com/SignUp to register and sign into the system. The Real Estate Board will need to approve your registration before you will appear as a photography company within Autoload. Be sure that you have your Account profile completed, and the section 'Present Your Business Offering' filled out.
To use the Photographers iPad App to make floor plans interactive, please click this link to read the detailed Photographer App Instructions
The trademarks REALTOR®, REALTORS® and the REALTOR® logo are controlled by The CanadianReal Estate Association (CREA) and identify real estate professionals who are members of CREA.